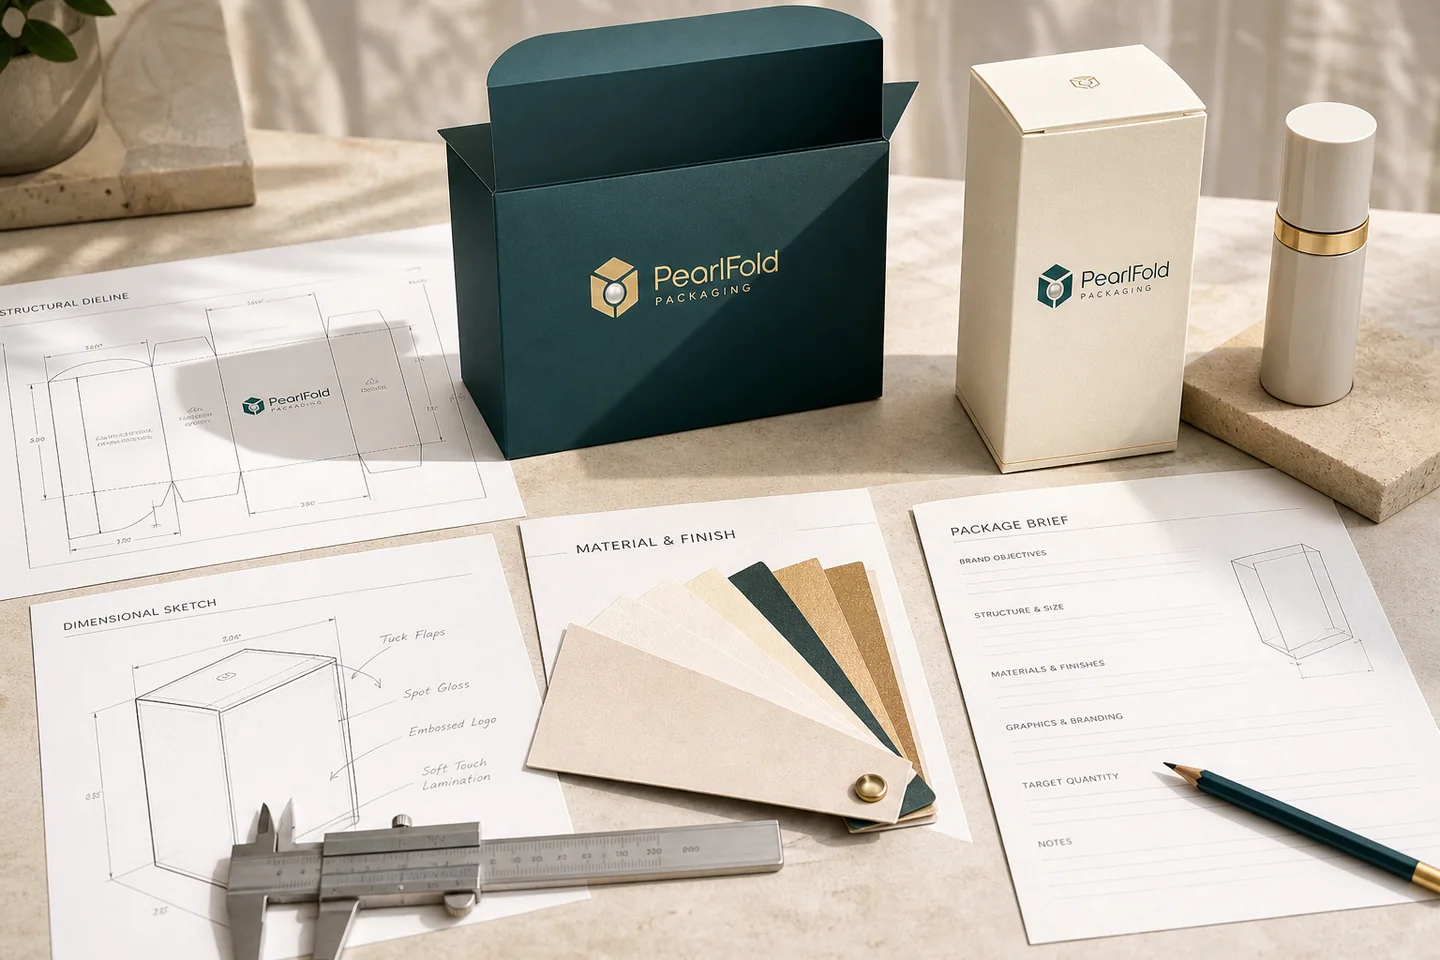
A production-ready custom packaging brief gives a packaging team enough verified information to define the structure, artwork scope, and quotation without guessing. The brief should identify the product, dimensions, quantity, sales context, protection needs, artwork status, finish direction, destination, and open decisions. It does not need to contain every final answer, but it should distinguish confirmed facts from preferences and unknowns.
A clear brief reduces avoidable revisions because the product and commercial requirements lead the conversation. This guide explains what to prepare, why each item matters, and how to organize the information so a packaging partner can respond usefully.
What should be at the top of a custom packaging brief?
Start with a one-paragraph project summary. Name the product, the type of package being considered, the approximate quantity, the sales channel, and the intended launch or replenishment context. If the request covers a range, state how many SKUs share the same container and which details vary.
The summary should be factual rather than promotional. “A five-SKU facial serum range in one bottle size for U.S. direct-to-consumer and specialty retail” is more useful than “a revolutionary luxury launch.” The first statement gives the packaging team entities and conditions that shape the structure. The second gives no production information.
Which product details are required for packaging planning?
Provide the finished product dimensions in a named unit, plus weight and photographs from several angles. Include the closure, pump, dropper, cap, applicator, or any part that extends beyond the main container. Record whether the primary container is glass, plastic, metal, paper, or another material because surface sensitivity and weight distribution can affect fit.
Measurements should come from the production-intent product when possible. A web listing, 3D rendering, or supplier estimate can help at an early stage, but it should be marked as provisional. Final structural work should use confirmed measurements or a physical sample. The custom inserts guide explains why cavity depth, retention, and finger access depend on the real item.
How should quantity be described?
State the approximate quantity per SKU and the total quantity across the project. If the number is not confirmed, give a realistic planning band and explain whether the package is for a test launch, ongoing retail program, seasonal set, or one-time presentation. Quantity can influence which structures, print methods, and finishing approaches are practical, so hiding uncertainty does not improve the quote.
Do not ask the packaging team to assume a universal minimum. Minimums and efficient order levels depend on the structure, material, printing, finishing, and current production specification. PearlFold confirms applicable quantities in the project-specific quotation instead of publishing one unsupported number for every box.
What should the brief say about the sales channel and customer experience?
Explain where the product will be encountered: retail shelf, direct-to-consumer shipment, subscription, gift set, professional use, sampling, or another channel. Note whether the package must hang, stand, stack, reveal multiple products, or fit inside another shipping or presentation format. These details influence panel orientation, opening direction, insert planning, and how much surface area is useful.
Describe the desired experience in practical terms. “The customer should see the bottle immediately when the lid opens, then remove it using a finger notch” is actionable. “The box should feel unforgettable” is not. References are helpful when they point to a closure, proportion, material, or reveal; they should not ask a packaging partner to copy another brand.
How should artwork and brand assets be organized?
State whether artwork is final, in development, or requires support. Supply the current logo files, color references, typefaces or outlined text, product copy, barcodes, symbols, and any regulated or legal wording provided by the brand’s qualified team. Identify the person who can approve the final content.
Artwork should be placed on the approved structural dieline, not on a generic rectangle. Keep cut, fold, bleed, safe-area, and glue guidance separate from printable artwork. Linked images need sufficient resolution for their intended size, and the working file should preserve editable vectors where required. Use the PearlFold artwork guidelines as the handoff checklist.
What material and finish information belongs in the brief?
Separate performance needs from visual preferences. Performance needs may include sufficient stiffness, a fitted insert, scuff awareness, controlled light exposure, or compatibility with the packing process. Visual preferences may include an uncoated paper feel, deep color, restrained foil, blind embossing, or a soft matte direction. The final material and finish combination still needs technical confirmation.
Do not use unsupported environmental or certification language as a substitute for specifications. If a claim matters, identify the exact material, supplier documentation, certification scope, recovery pathway, and market context that would support it. If those records are not yet available, mark the claim as pending review.
What information helps an accurate quote?
| Brief field | Why it matters | Useful evidence |
|---|---|---|
| Product and dimensions | Defines the starting structure and internal clearance | Measurements, weight, photographs, physical sample |
| Quantity per SKU | Frames production and finishing options | Planning quantity and repeat-order context |
| Structure direction | Clarifies whether the request is open or constrained | Reference, sketch, or “recommend a direction” note |
| Artwork status | Identifies design and prepress work still required | Logo, copy deck, dieline artwork, reference PDF |
| Materials and finishes | Connects appearance to a reviewable specification | Swatches, color reference, finish priorities |
| Destination and timing | Supports project-specific planning | Delivery region and target date, marked flexible or fixed |
How should a multi-SKU range be briefed?
Create one master sheet that identifies the shared packaging system, then a SKU table that records every controlled difference. The master may define structure, board, logo position, finish, and common required copy zones. The SKU table can record product name, variant, color, barcode, net contents supplied by the brand, and any container-size change.
This approach reduces accidental drift because the range is reviewed as a system. It also makes exceptions visible. If one product needs a different insert or carton depth, state that explicitly instead of forcing it into the same specification. The goal is visual coordination with product-specific accuracy, not sameness at any cost.
What should remain open in an early packaging brief?
An early brief may leave the box style, board grade, insert construction, print method, or finish combination open. That is acceptable when the objective and constraints are clear. Label each open item and state what should decide it: product protection, presentation, budget direction, pack-out, sustainability evidence, or another criterion.
A brief becomes risky when assumptions are written as facts. Use a simple status system such as confirmed, preferred, under review, and unknown. This helps every participant understand which decisions can move forward and which require a sample, supplier record, artwork revision, or commercial approval.
Which files should accompany the brief?
- Product photographs and a dimensional drawing or measurement sheet
- Logo files and current brand guidelines
- Approved or draft product copy with a named owner
- Existing packaging files, if the project is a redesign
- Reference images labeled with the specific feature being discussed
- SKU list and quantity per SKU
- Delivery destination and target timing
- Any available material, finish, or compliance documentation
Use descriptive filenames and version numbers. A folder called “final-final-new” creates uncertainty; a filename that includes the product, component, version, and date is easier to review. Keep one agreed source of truth and record approvals in writing.
How can a packaging team review the brief before sending it?
Read the brief as if the recipient has never seen the product. Confirm that the product, audience, channel, quantity, dimensions, and decision owner are named. Check that every attachment opens, every measurement uses a unit, and every reference explains what to notice. Remove conflicting versions and promotional filler.
Then identify the next decision the packaging partner should make. It may be to recommend a structure, review a dieline, compare insert directions, or prepare a quote from an existing specification. A brief that ends with a clear request produces a more focused response.
What is the next step after the brief is ready?
Use the brief to start a structure-specific conversation, not to skip proofing or sampling. The package still needs a confirmed dieline, artwork review, material and finish specification, commercial scope, and appropriate approval before production. Project details can change during development, so maintain a dated decision record.
If you need a planning framework, use PearlFold’s custom packaging guide. When the product information and approximate quantity are ready, send the useful facts through the custom quote form. PearlFold will use the supplied brief to frame the next packaging discussion without inventing missing specifications.
A final packaging-brief quality check
A strong brief lets a new reviewer answer five questions without opening another message: what is being packed, what is confirmed, what remains open, what quantity and channel shape the project, and what decision is requested next. If any answer is missing, add the fact or label the uncertainty. That simple test keeps the document useful as the project moves from initial direction to dieline, artwork, proof, sample, quotation, and written approval.
Keep the brief alive after it is sent. Add confirmed decisions, replace provisional measurements, and link each approval to the correct file version. A dated brief is more valuable than scattered instructions because it lets design, procurement, prepress, and production review the same project facts.